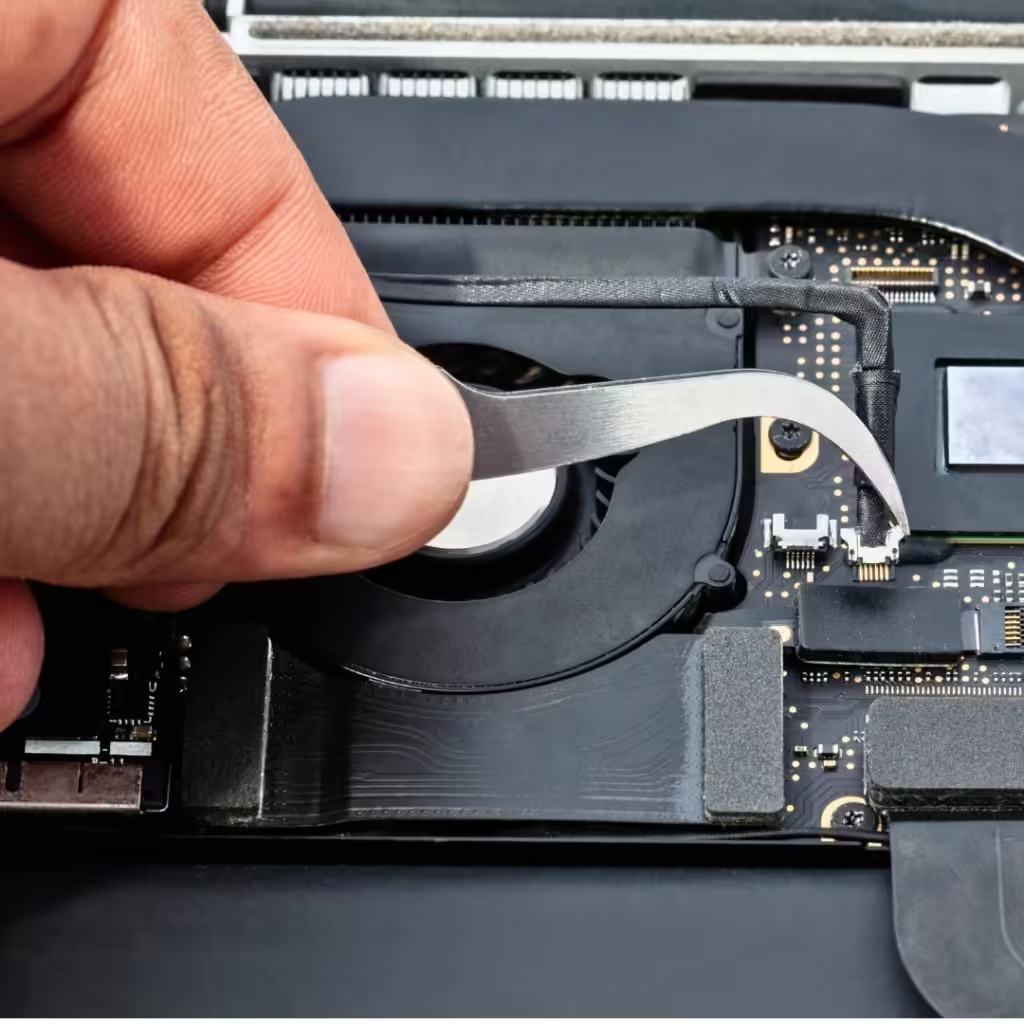
Upgrading System Hardware: A Comprehensive Checklist for IT Asset Managers
Updating an organization’s system hardware is a critical process that involves replacing outdated components and storage systems, along with implementing necessary software updates. This not only enhances performance but also significantly bolsters data security. As technology continues to evolve, staying up to date is essential for maintaining operational efficiency and compliance with regulatory standards.
To facilitate a smooth upgrade, IT asset managers can follow this concise checklist, emphasizing data protection’s importance, particularly media sanitization.
1. Data Classification and Inventorying
Before initiating any hardware upgrades, it’s vital to classify and inventory data based on sensitivity, confidentiality, and criticality. This step helps outline a complete record of data assets, their locations, formats, usage, and ownership. Key actions include:
- Assessing risks and identifying key data.
- Assigning risk categories (low, moderate, high).
- Creating a classification policy to define data sensitivity levels (public, internal, confidential, restricted).
- Categorizing data by type and purpose.
- Identifying data locations throughout the organization.
Implementing a systematic approach ensures that data security and compliance are prioritized, particularly in alignment with ISO 27001 Annex A 5.12, which discusses information categorization.
2. Data Backup and Verification
A comprehensive data backup plan is essential before proceeding with hardware upgrades. This ensures the preservation of critical data and provides a smoother recovery process in case of unexpected issues. Key considerations include:
- Defining the scope, frequency, format, retention, and roles related to data backups.
- Adhering to standards such as ISO 27001, ISO 27002, and ISO 27040.
- Using checksums, hashes, or digital signatures to verify data integrity.
3. Perform Data Sanitization
Data sanitization must be prioritized before retiring or selling old hardware components. Properly wiping storage devices eliminates traces of sensitive information, reducing the risk of data breaches. Key actions include:
- Following the organization’s media data sanitization policy.
- Auditing records to confirm secure data destruction.
- Utilizing reliable data destruction software, such as BitRaser, to ensure compliance with international standards.
Organizations should refer to NIST guidelines or the IEEE 2883-2022 standard for current media sanitization best practices.
4. Handling Failed Media Sanitization
In cases where media sanitization attempts fail, it’s crucial to isolate and label affected media. Drives with bad sectors that cannot be erased should be physically destroyed, following NIST guidelines. Maintaining records of this physical destruction is also essential for compliance.
5. Configure New Hardware: Update Software and Install Operating System
Once old hardware has been sanitized, the new hardware can be configured. Key steps include:
- Retrieving data backups on the new hardware.
- Ensuring all software applications are up to date, including drivers and antivirus programs.
- Verifying the compatibility of software with new hardware components.
- Considering a fresh installation of the operating system for major changes (e.g., new motherboard or CPU).
Alternatively, migration tools can be used to transfer the operating system and software to the new hardware while preserving settings and data.
Conclusion
Upgrading system hardware is a multifaceted process that requires careful planning and execution. By following this checklist, IT asset managers can ensure a secure, efficient, and compliant transition to new hardware. Emphasizing data sanitization and regulatory compliance not only protects sensitive information but also strengthens the organization’s overall security posture.

